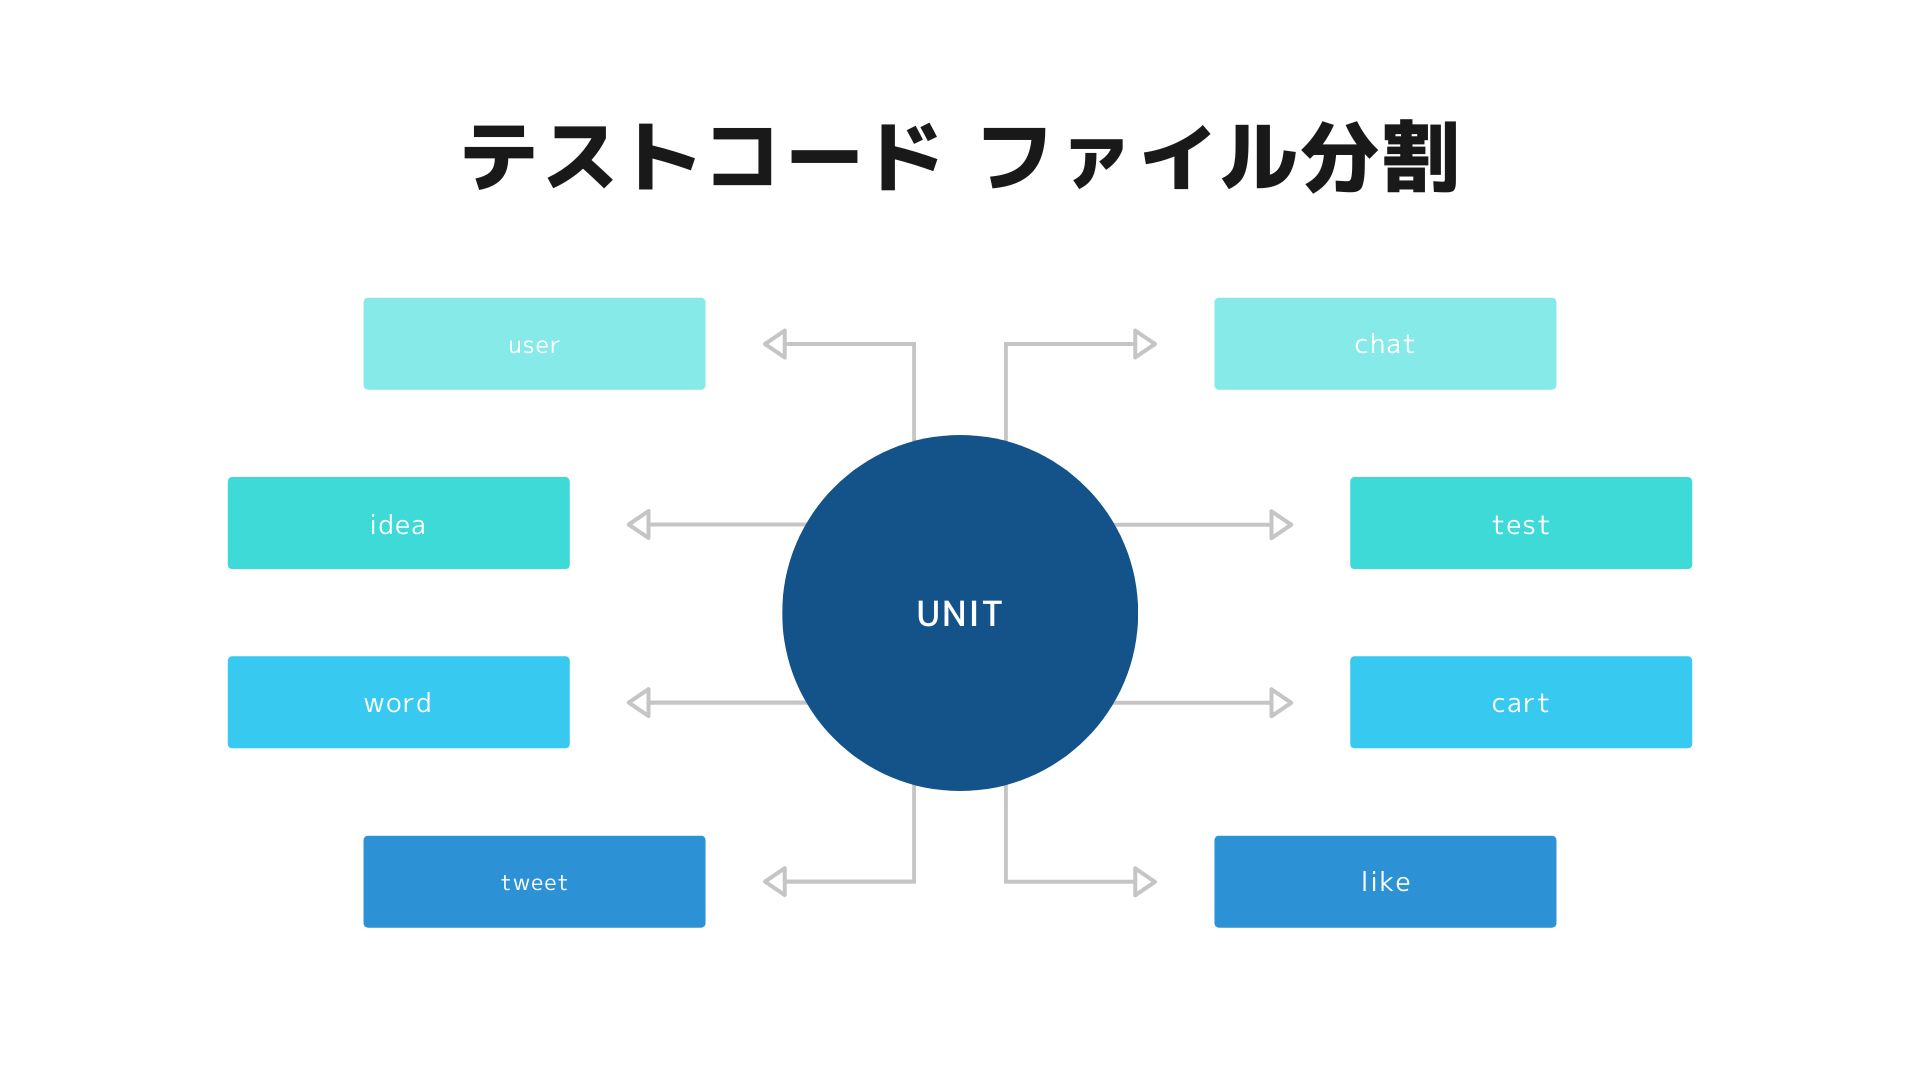
今回は、jestでファイル分割をしてテストを行う方法についてまとめました!
プロジェクト全体のテストを一つのファイルにまとめるとコードが膨大な量になってしまい、見づらいコードが出来上がってしまいます。
そうならないためにも、ファイルを分割してコードを見やすくしておきたいですね!
ディレクトリ構成
├── server.unit.test.js
└── tests
      ├── ideas.test.js
      ├── users.test.js
      └── words.test.js
server.unit.test.js : 全体で実行するテストコード
tests/… : 個々に分割したテストコード
ソースコード
全体で実行するテストに、個々で書いたテストコードをインポートしていきます。
こちらの例では、テストの実行前にmongodbに接続(beforeAll)、実行後に接続を解除しています(afterAll)
/**
 * @jest-environment jsdom
 */

const {TextEncoder, TextDecoder} = require('util');
global.TextEncoder = TextEncoder;
global.TextDecoder = TextDecoder;

const { connectMongo, disconnectMongo } = require("./services/mongo");

const ideasTest = require("./tests/ideas.test");
const usersTest = require("./tests/users.test");
const wordsTest = require("./tests/words.test");

jest.setTimeout(14000);

describe("Test server API", () => {

  beforeAll(async () => {
    await connectMongo();
  });

  afterAll(async () => {
    await disconnectMongo();
  });

  describe("Test Users API", usersTest);

  describe("Test Words API", wordsTest);

  describe("Test Ideas API", ideasTest);
});
以下は個々のテストコードです。
/**
 * @jest-environment jsdom
 */
const request = require("supertest");
const app = require("../app");

const ideasTest = () => {
  describe("Test GET /idea", () => {
    test("It should response with 200 success", async () => {
      const response = await request(app)
        ...
    });
  });

  describe("Test POST /idea", () => {
    const completeIdeaData = {
      idea: "テスト + アイデア",
      desc: "詳細味入力(テスト)",
    };
    test("It should response with 201 success", async () => {
      const response = await request(app)
        ...
    });

    test("It should catch Missing required properties", async () => {
      const response = await request(app)
        ...
    });
  });
};

module.exports = ideasTest;
/**
 * @jest-environment jsdom
 */
const request = require("supertest");
const app = require("../app");
const wordsTest = () => {
  describe("Test GET /word", () => {
    test("It should respond with 200 success", async () => {
      const response = await request(app)
        ...
    });
  });

  describe("Test POST /word", () => {
    const completeWordData = {
      word: "テスト用単語",
    };

    test("It should respond with 201 success", async () => {
      const response = await request(app)
        ...
    });

    test("It should catch Missing required properties", async () => {
      const response = await request(app)
        ...
    });
  });
};

module.exports = wordsTest;
/**
* @jest-environment jsdom
*/
const request = require("supertest");
const app = require("../app");
const ideasTest = () => {
describe("Test GET /idea", () => {
test("It should response with 200 success", async () => {
const response = await request(app)
...
});
});
describe("Test POST /idea", () => {
const completeIdeaData = {
idea: "テスト + アイデア",
desc: "詳細味入力(テスト)",
};
test("It should response with 201 success", async () => {
const response = await request(app)
...
});
test("It should catch Missing required properties", async () => {
const response = await request(app)
...
});
});
};
module.exports = ideasTest;テストの実行方法
コマンドでシンプルにjestを実行すると全体のテスト、個々のテストが全て実行されてしまいます。
では、server.unit.test.jsのみを実行するのにはどうすればよいのでしょうか?
答えはシンプル。
jest unitと入力すればOK!
 AppGram


